P6: Lifting machine 2.0 #
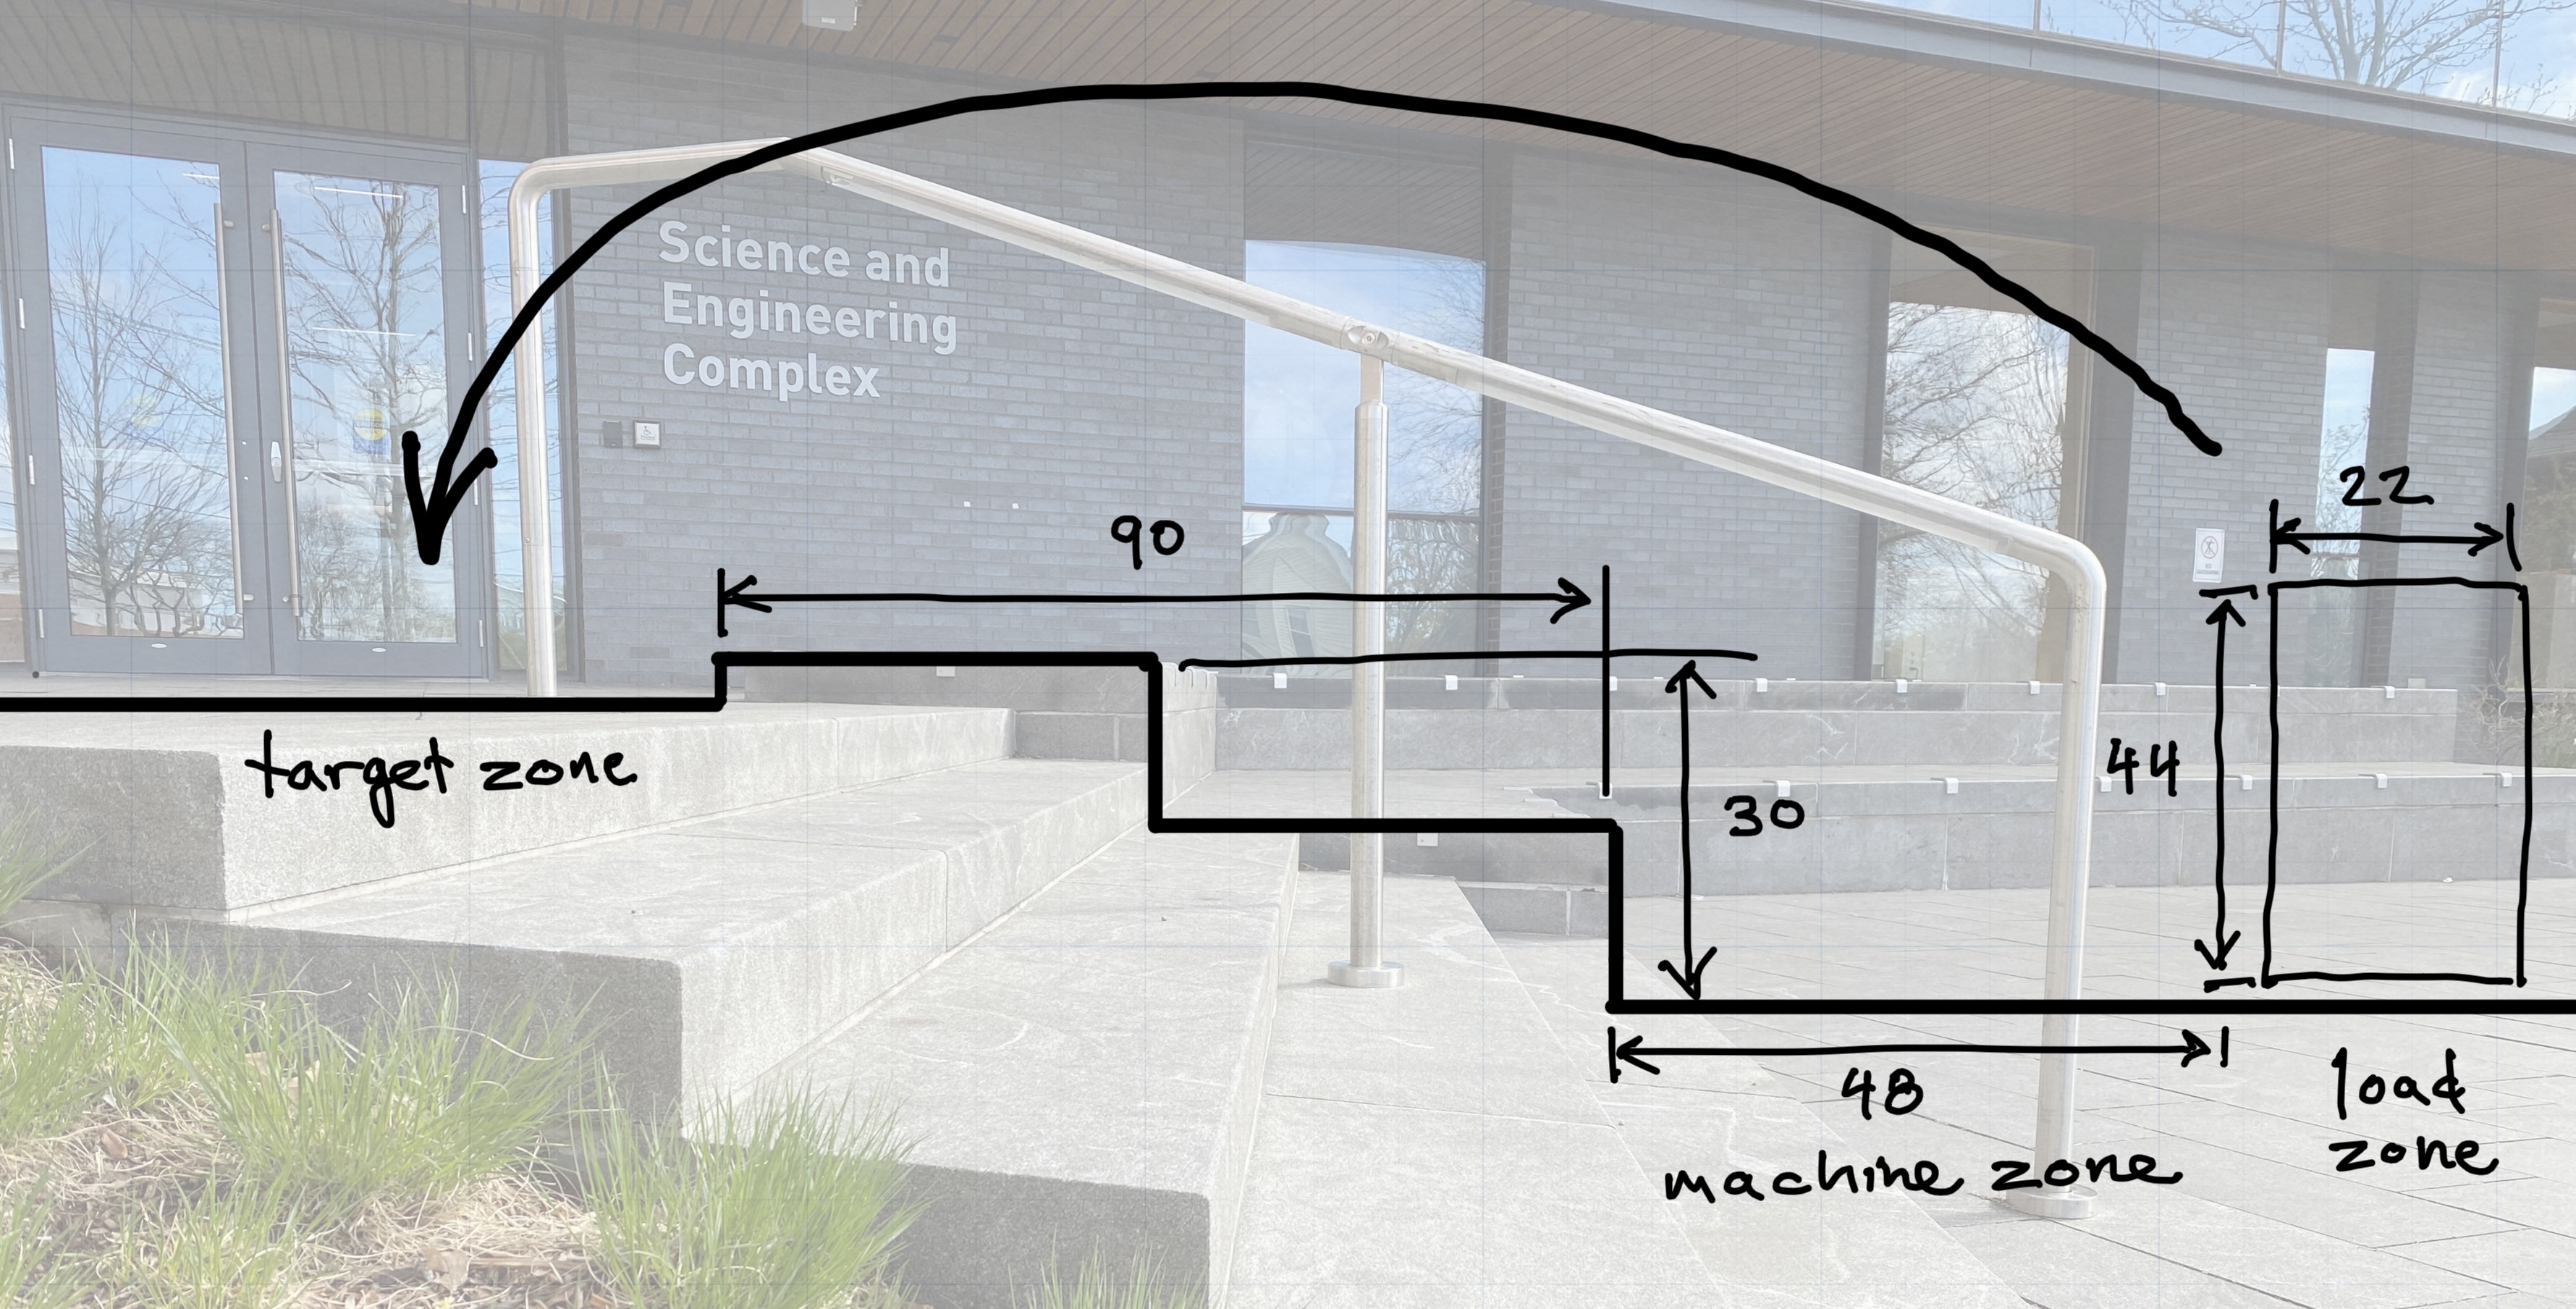
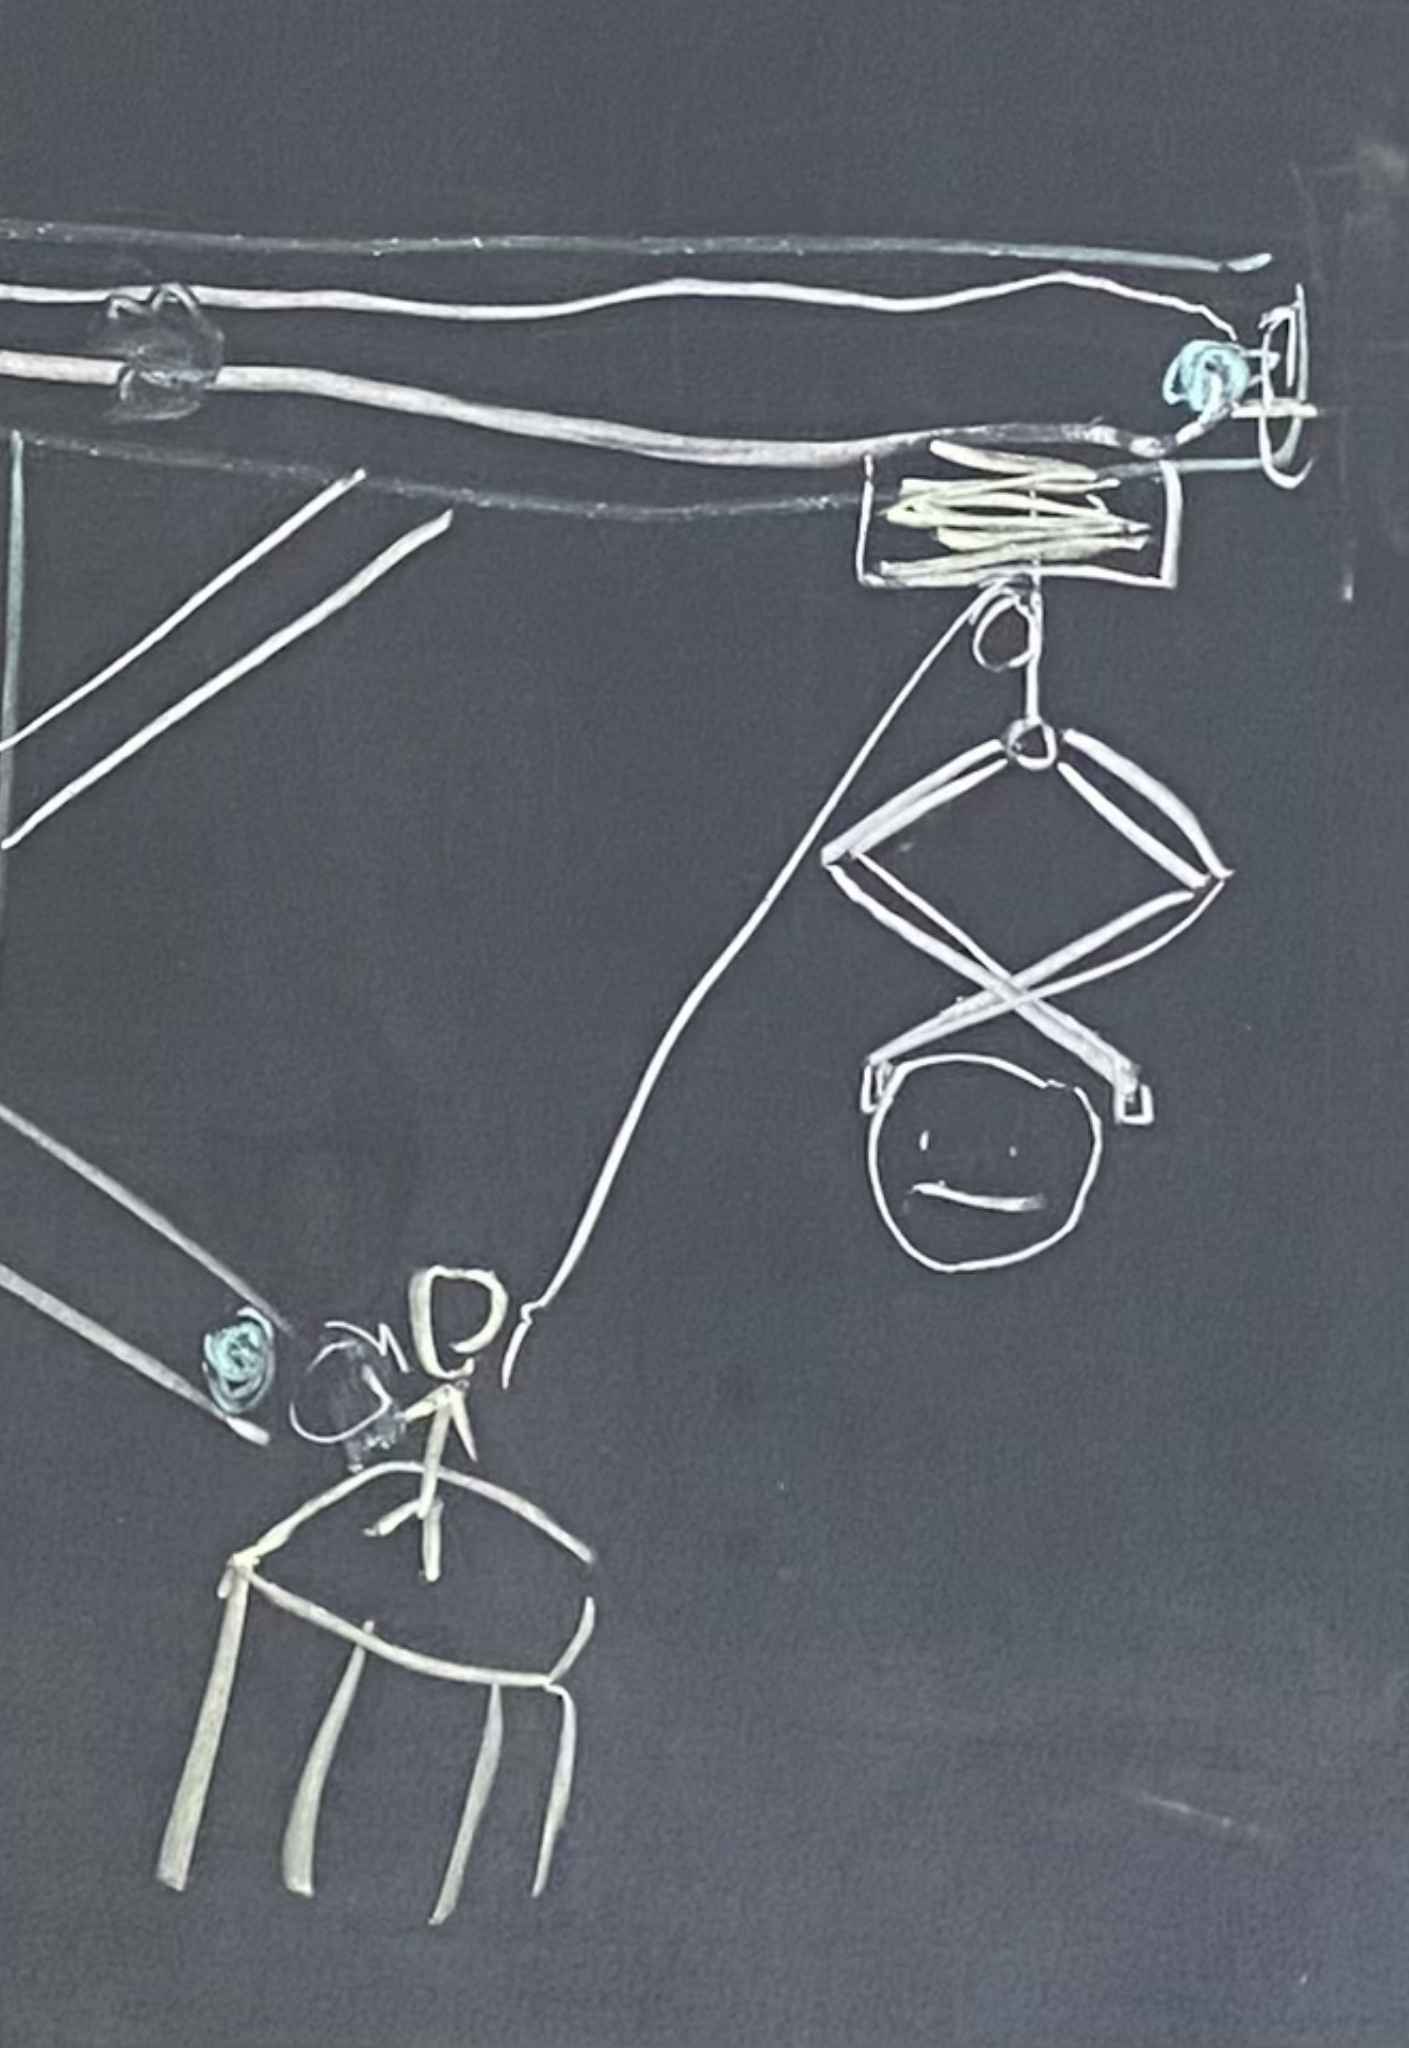
Build a human-powered machine for lifting a enclosure containing one of your team members from the lower patio to the upper patio of the SEC.
Your machine should have the characteristics listed below.
- Your machine must be operated by one person in your group.
- The operation of the machine should not rely on the operator’s strength in any substantial way– anyone in the class should be able to operate the machine, not just the strongest among us.
- Your machine should be stout enough to lift the enclosure containing your team member.
- You should not pre-attach straps or adhesives or anything like that to the enclosure. As in P5, you will need to make some kind of end effector that can grip the enclosure. Do not damage the enclosure if you can help it.
- For safety, your machine should not lift the enclosure above the operator’s body, lest it fall on them. Watch out for crushed feet too.
- The base of your machine must remain in the 48 inch wide zone on the lower patio.
- The enclosure should be deposited on the upper patio, at the same level as the top of the stairs.

You will be given: #
- Access to a large pile of 1x4’s, 2x4’s, and 1/2 inch plywood
- If you decide to use a cable-driven mechanism, 1/16" steel cable
- As with the record player, as many bricks as you request, within reason
- Other materials or parts as needed
A few notes about safety: #
- Before you test lifting a person in the box, try lifting the box filled with 6 cinderblocks (around 200 lbs, including the box).
- This is probably obvious, but if you can’t lift the box of cinderblocks safely, do not try to lift a person.
- Scissor clamps that rely on friction can require a lot of compressive force. If you’re using a scissor clamp, try to grip the top 3-6 inches of the box, where the box is sturdiest.
P6 proto: Thursday, April 27, at the start of class.
P6 final: Monday, May 8, 3:30 PM (as mandated by the university).

P5: Lifting machine #
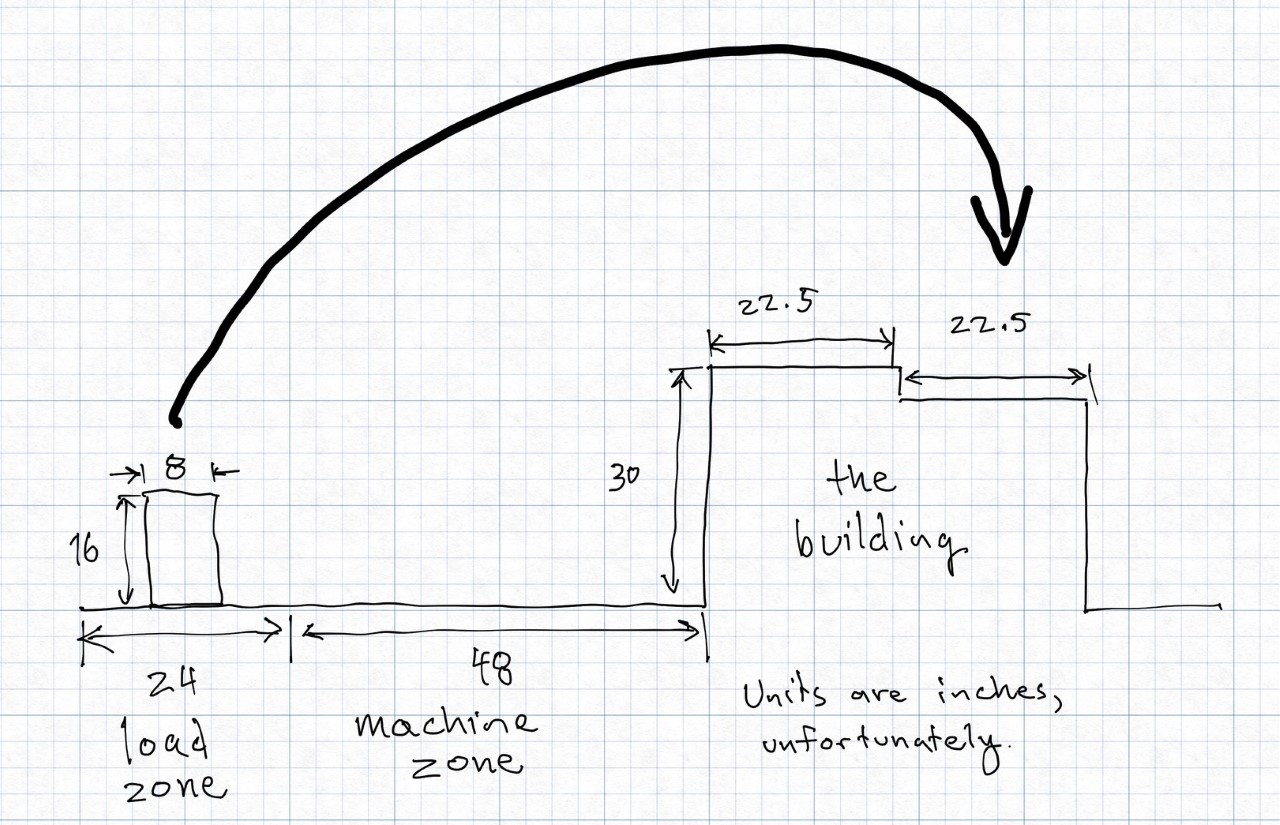
Build a human-powered machine for lifting a cinderblock onto the “roof” of a “building.”
Your machine should have the characteristics listed below.
- Your machine must be operated by one person in your group.
- The operation of the machine should not rely on the operator’s strength in any substantial way– anyone in the class should be able to operate the machine, not just the strongest among us.
- Your machine should be stout enough to lift a plywood-capped cinderblock weighing around 30 pounds.
- You should not pre-attach straps or adhesives or anything like that to the load. This suggests that you will need to make some kind of end effector that can grip the cinderblock. Do not damage the cinderblock if you can help it.
- For safety, your machine should not lift the cinderblock above the operator’s body, lest it fall on them. Watch out for crushed feet too.
- The base of your machine must remain in the 48 inch wide zone next to the “building”.
- The cinderblock should be deposited in the lower level of the building roof.

You will be given: #
- Access to a large pile of 1x4’s, 2x4’s, and 1/2 inch plywood
- If you decide to use a cable-driven mechanism, 1/16" steel cable
- As with the record player, as many bricks as you request, within reason
- Other materials or parts as needed
P5 design review: Thursday, April 6, at the start of class.
P5 proto: Tuesday, April 11, at the start of class.
P5 final: Thursday, April 20, at the start of class.
P4: Gravity-powered record player #
Build a gravity-powered record player. You can do this on your own or with a partner, if you feel like you’ll learn more working in a team. It should be able to play a 7" diameter record for 4.5 minutes at 45 RPM. If you decide you need a horn to amplify the sound, do not 3D print one. Instead, use folded sheet metal, cardboard, or the like. You might make a trigger mechanism that would start the record playing.
You will be given: #
- 1 vinyl record
- 4 or 5 steel needles
- As many bricks as you request, within reason
Please set your learning goals for the project on Canvas as soon as you have time.
A few pieces of advice #
As you think about your learning goals, it would be pretty safe to assume that all of you will be able to make a record spin. Sure, you might have a last-minute failure where some pulley comes loose on a shaft, but generally, you’ll get it.
You will probably also find that the sound of the needle is surprisingly audible, even with a hastily constructed paper horn for amplification.
For most of you, the major challenge of the project will be figuring out how to control the speed of the record so that it spins at a constant rate. If you have no method of speed control, your record player will start slow, then spin really fast for a few seconds, and then tail off dreadfully when the weight bottoms out. Having a low-friction system is also pretty important– it’s difficult to control speed if the thing is really difficult to spin in the first place. Actually playing for 4.5 minutes is a pretty ambitious goal, but can be done with a low-friction system. We’ll talk about modeling this in class.
P4 proto: Tuesday, March 14, at the start of class. The record should spin under gravity power by this date.
P4 final: Thursday, March 30, at the start of class.
P3: Make a puzzle ball #
In a team of 3, design and fabricate a spherical puzzle similar to the Perplexus. Your puzzle should contain a total of at least 15 puzzle stages. Each team member should fabricate at least 5 stages; each person’s stages don’t have to be contiguous.
You will be given:
- 2 steel balls, 9 mm in diameter: McMaster 9292K44
- 1 transparent plastic ball, approximate inner diameter 195 mm
Restrictions:
- Do not alter the big plastic balls. Do not drill holes in them or glue things to them. (This is for two reasons: I want to reuse them next year, but also, if you glue stuff in, you will very, very likely regret it. You need to be able to assemble, test, and then iterate. Adhesives do not iterate.)
Prototype due: Tuesday, February 21, at the start of class.
Project due: Tuesday, February 28, at the start of class.
P2: Hidden mechanism box for kids #
Make a mechanism in a box that connects two opposing rods and survives exploration by kids. It should have the properties listed below.
- When you push rod A into the box, rod B moves into the box in a symmetrical fashion. When you pull A out, B emerges too.
- Rods A and B cannot be removed
- The top and sides of the box are opaque, hiding the mechanism. The top should not have visible fasteners if those fasteners would reveal the nature of the mechanism.
- The bottom is transparent, or in some way reveals the nature of the mechanism.
- The mechanism should be durable when exposed to kids.
- The mechanism should have a satisfying feel– this might mean detents, no rattling, or smooth motion, but it depends on the mechanism.
You will be given: 2 maple dowels, 3/8" in diameter and 8" long.
Prototype due: Tuesday, February 7, at the start of class. The prototype should test the mechanism, but need not be sealed up.
Project due: Thursday, February 9, at the start of class.
P1: Build a mechanical car launcher #
Design, prototype, and refine a mechanism that can reliably hold and release a 9.8 N force (the weight of a 1 kg mass on Earth) to launch a toy car off a jump.
The goal here is threefold:
- control a large force from a rubber band with a small force from your finger
- learn how to build a smooth mechanism
- actually launch toy cars off a jump
You will be given: #
- 1 ball bearing, 22 mm OD, 8 mm ID, 7 mm width, part number 608RS
- 1 socket head cap screw, M8 x 1.25 mm, 30 mm length (McMaster 91290A434)
- 1 M8 x 1.25 mm nut (McMaster 91828A410)
- 2 M8 washers (McMaster 98689A116)
- 1 rubber band, size 64
- 1 toy car for propulsion
- Various bolts and washers, available in the gray drawers in Nolop
- Various brass heat-set inserts, available in the orange cabinet in Nolop
- Various washers, available in the gray drawers in Nolop
You will need to obtain: #
- Probably some cardboard for prototyping
- Probably some acrylic or plywood from the Nolop store for laser cutting